
NXP Time Series Studio (hereinafter referred to as TSS) is a tool specifically designed for time series data analysis and machine learning, tailored for IoT (Internet of Things) and embedded system developers. This tool helps users process sensor data, build machine learning models, and deploy those models to NXP microcontrollers (MCUs) or microprocessors (MPUs).
You canHereDownload TSS, a completely free desktop tool that allows developers to build models without needing to understand machine learning.
Since TSS and the NXP eIQ Toolkit are bundled together, you will only see the download button for the eIQ Toolkit. Then, all you need to do is: download it, install it, and open it.
The download page looks like this:
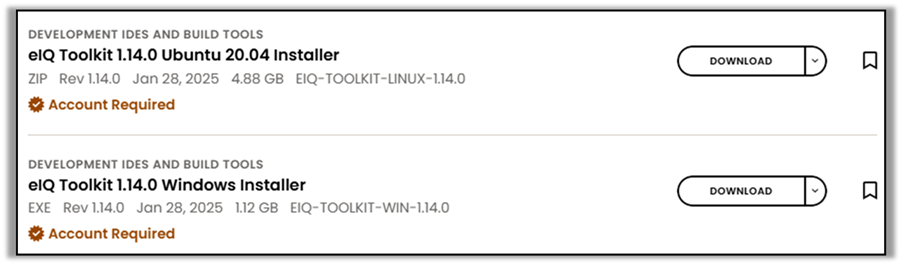
The installation process simply requires clicking 'Next' all the way through, so it won't be elaborated here.
Once the installation is complete, open the eIQ Portal.

After opening the eIQ Portal, you can see Time Series in the bottom left corner. Click to open it.

When starting, the TSS logo will appear, and you need to wait for a moment.

After opening TSS, you will see the following screen. We won't go into detail about the functions here but will directly download the dataset provided by NXP for use.
If you're interested in the features on the interface, feel free to check it out.NXP TSS Learning Notes - Introduction to Time Series Studio。

Next, we click.ClassificationYou will see examples related to the category.
Here we click on Fan State Monitoring.MoreYou can see more explanations about this example by clicking.DatasetIt involves downloading the dataset.

The downloaded dataset is shown as follows, divided into training data and testing data, with separate data corresponding to the four different states of the fan.

The preparation work is now complete. Next, we will start training the model.
1. Click on Classification on the left side of TSS, then click on Create New Project.

2. Enter and adjust the project information.
Project Name: You can define the project name yourself; the default is arranged by date.
Your Target: The development board to which the model needs to be ported after training.
Number of Channels: Number of data input sources.
Number of Classes: Number of data categories.
Library Max RAM and Library Max Flash will automatically adjust to the maximum values of the selected development board after it is chosen.

3. Load Dataset
ClickLoad FilesSelect the training data you just downloaded and click.Open.

Here, it will ask what delimiter is used for the data format. Generally, you don't need to change anything; just keep it as is.Space, clickLoad。

After the data is loaded, as shown in the figure below, you can see the status of the four fan conditions.

4. Training Data
ClickTraining, and then clickStart New TrainingThe Training Config will appear later.
We will not make any adjustments this time, just click directly.Start。

TSS begins training, and the iterative training results of different models will be displayed in the bottom-left corner under 'Models.' A comprehensive comparison will be made based on factors such as RAM usage, Flash usage, and accuracy of predictions.

5. Emulation
We can perform emulation on the trained model using the test data.
Simply select the model you want to emulate on the Emulation page first, then click.New Emulation, and then clickSelectClick after loading the test data.Start。

It won't take long to show the results of the emulation.

6. Deployment
If we find the Emulation result satisfactory, we can generate a project or library for the initially selected development board on the Deployment page.
As shown in the image below, simply select Library or Project, and then click.Generate, you can generate the corresponding project or library.

At this point, the introduction to using TSS comes to an end. Next time, we will explain how to flash the generated project onto the development board.
Stay tuned!